Sharingan is a tool built on Python 3.6 using OpenCV 3.2 to extract news content as text from newspaper’s photo and perform news context extraction.
Note: This is a fun project I started out of curiosity and is still under development. It is still not mature enough to produce very accurate results.
The working can be divided into two tasks:
Image processing and text recognition
Context extraction
Image processing and text extraction
Our ROI is the text content of the page and therefore, some image processing is required to highlight and extract the text content from the image. Also, the appropriate text content highlighted requires some more processing and cleaning so that there is no noise and false positives while OCR is performed.
Edge detection technique is used to find boundaries of objects in an image by analyzing varying brightness in the image. Here, it is being used for segmenting image. More precisely, I’ve used Canny Edge Detection technique.
3. Dilation
Detecting contours for text at this point will lead to hundreds of nonsensical contours. To achieve a confident boundary detection I’ve used dilation here which is a process of dilating. It increases the white region in the image or size of foreground object. In informal terms, it leaks the white pixels to its neighborhood so that it transforms the text area as more solid looking
4. Finding Contours and Contour Approximation
Finding contours around the white pixels Contour approximation: It approximates a contour shape to another shape with less number of vertices depending upon the precision we specify. After performing contour approximation I got this
What I got ?
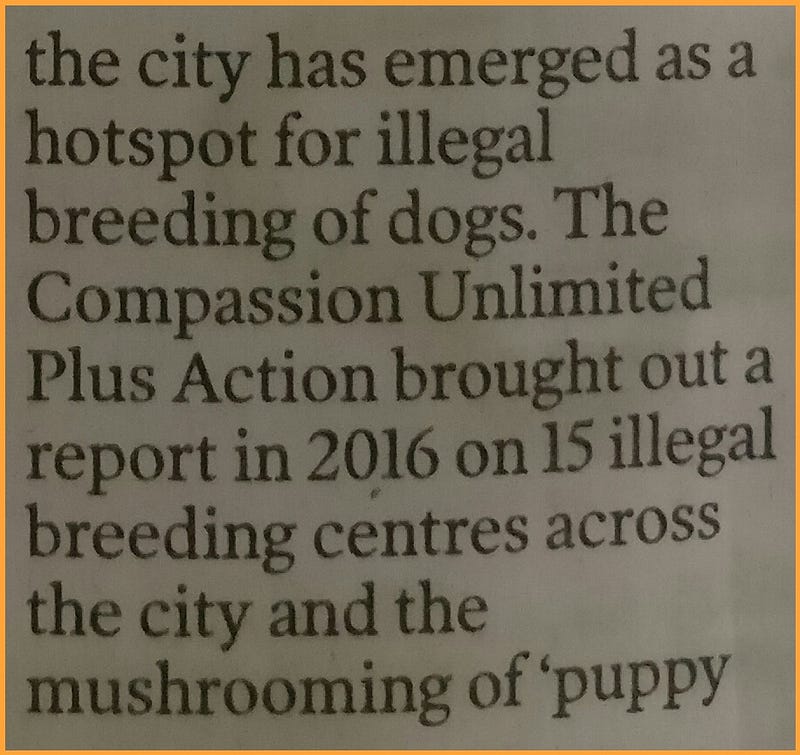
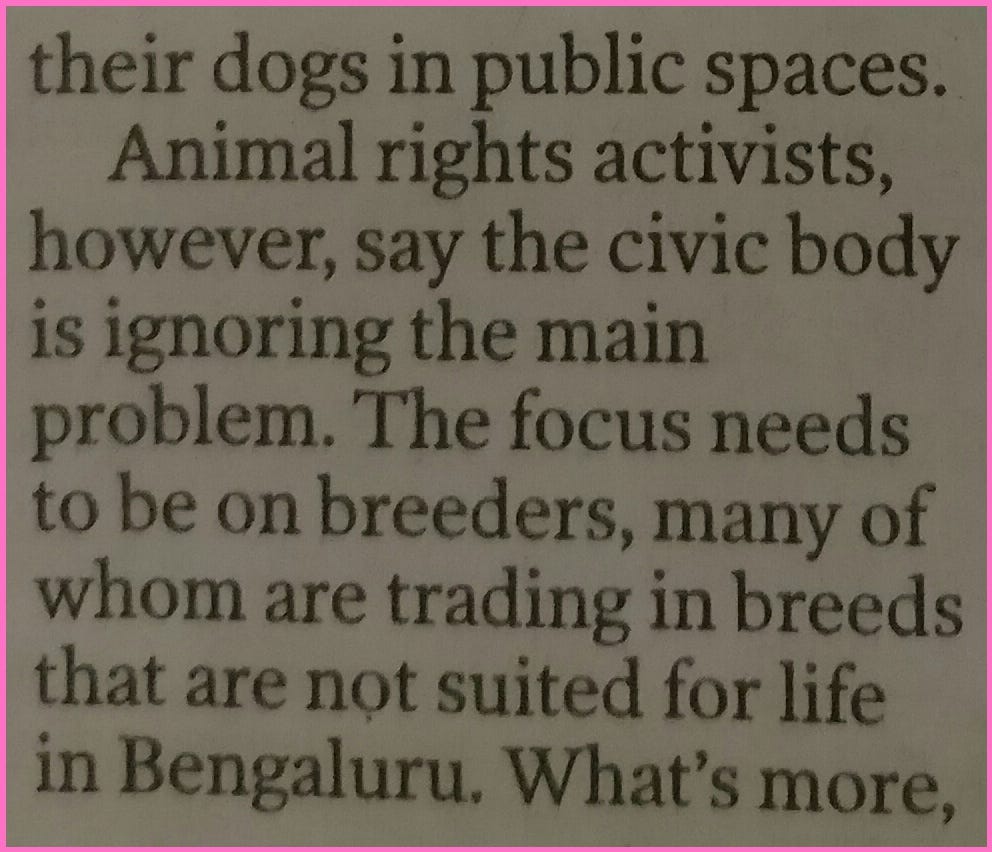
By employing techniques mentioned above, I ended up with these:
Inference
It’s evident that our logic was able to crop out the text content from the page but it also acquired few false positives which can be filtered out in this case with small tweaking. Also, our logic couldn’t isolate the image content (TODO: fix this).
Clean images for text extraction
I implemented adaptive binary thresholding to clean and highlight the text area
Text Extraction
I’ve used tesseract to extract the text from the segmented images.
Tesseract was originally developed at Hewlett-Packard Laboratories Bristol and at Hewlett-Packard Co, Greeley Colorado between 1985 and 1994, with some more changes made in 1996 to port to Windows, and some C++izing in 1998.
In 2005 Tesseract was open sourced by HP. Since 2006 it is developed by Google.
Manual Mode
Sharingan provides both automatic and manual segmentation mode. Below is the demo of manual segmentation.
Drag and drop the area to crop
Threshold
Context extraction
The phrase structure of a sentence in English is of the form:
The above rule means that a sentence (S) consists of a Noun Phrase (NP) and a Verb Phrase(VP). We can further define grammar for a Noun Phrase but let’s not get into that :)
A Verb Phrase defines the action performed on or by the object whereas a Noun Phrase function as verb subject or object in a sentence. Therefore, NP can be used to extract the important topics from the sentences.
I’ve used Brown Corpus in Natural Language Toolkit (NLTK) for Part Of Speech (POS) tagging of the sentences and defined custom Context Free Grammar (CFG) for extracting NP.
“The Brown Corpus was the first million-word electronic corpus of English, created in 1961 at Brown University. This corpus contains text from 500 sources, and the sources have been categorized by genre, such as news, editorial, and so on.”
A part-of-speech tagger, or POS-tagger, processes a sequence of words, and attaches a part of speech tag to each word.
>>> text = word_tokenize("And now for something completely different")
>>> nltk.pos_tag(text)
[('And', 'CC'), ('now', 'RB'), ('for', 'IN'), ('something', 'NN'),
('completely', 'RB'), ('different', 'JJ')]
In my context extractor script, I’ve used unigram as well as bigram POS tagging. A unigram tagger is based on a simple statistical algorithm: For every token/word assign a tag that is more likely for that token/word which is decided as per the lookup match found in the trained data. The drawback of unigram tagging is, we can just tag a token with a “most likely” tag in isolation with the larger context of the text.
Therefore, for better results we use an n-gram tagger, whose context is current token along with the POS tags of preceding n-1 tokens. The problem with n-gram taggers is sparse data problem which is quite immanent in NLP.
“As n gets larger, the specificity of the contexts increases, as does the chance that the data we wish to tag contains contexts that were not present in the training data.”
I’ve also defined a custom CFG to extract Noun Phrases from the POS tagged list of tokens.
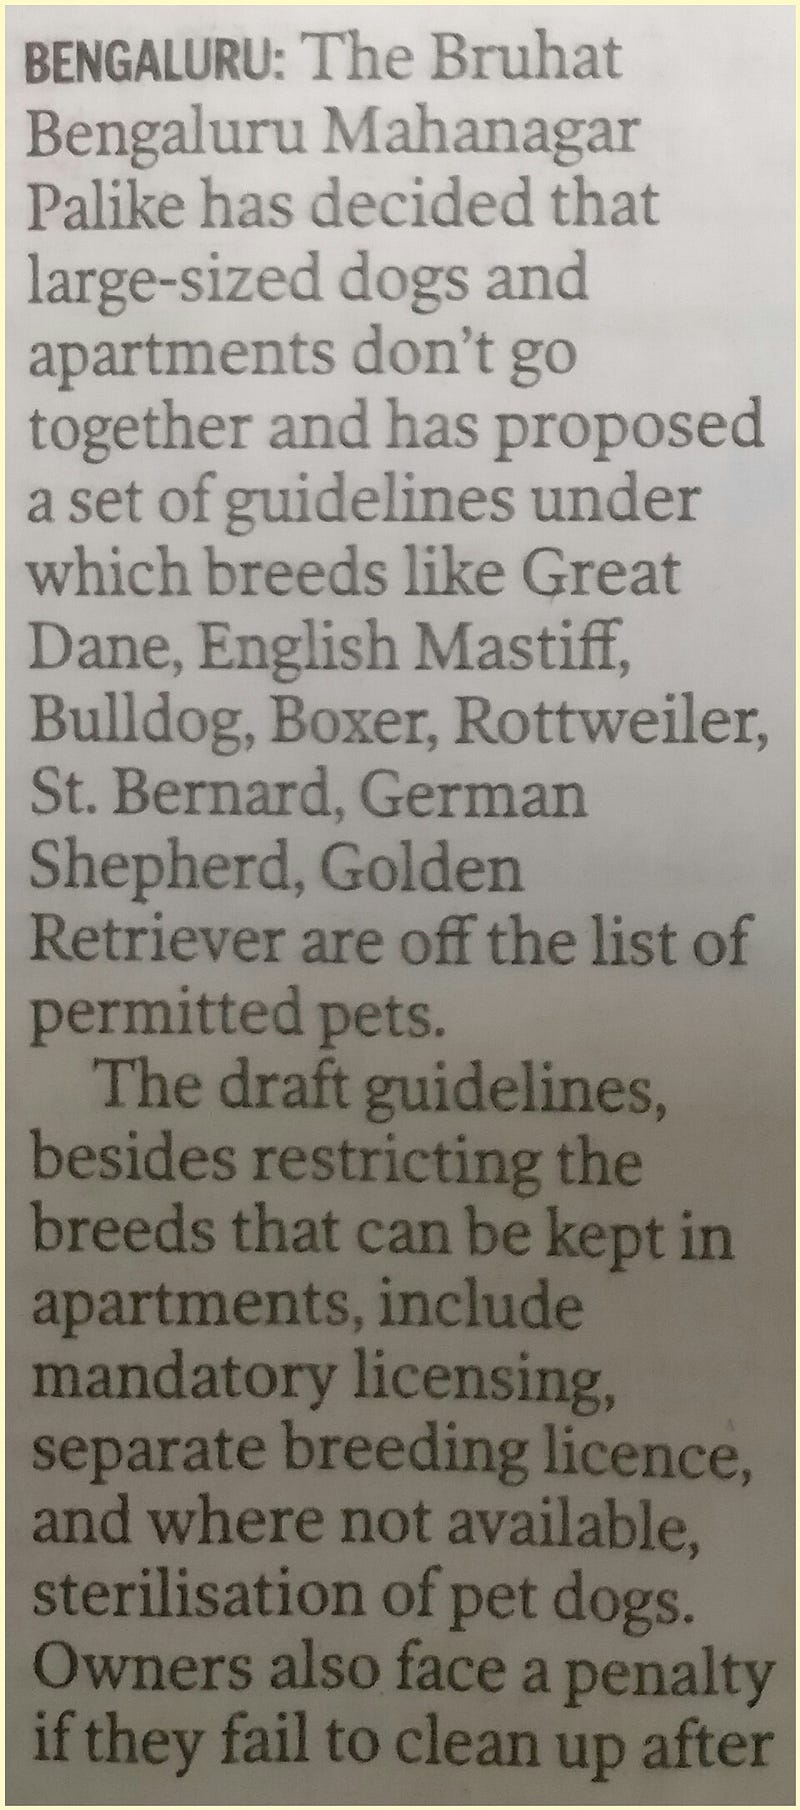
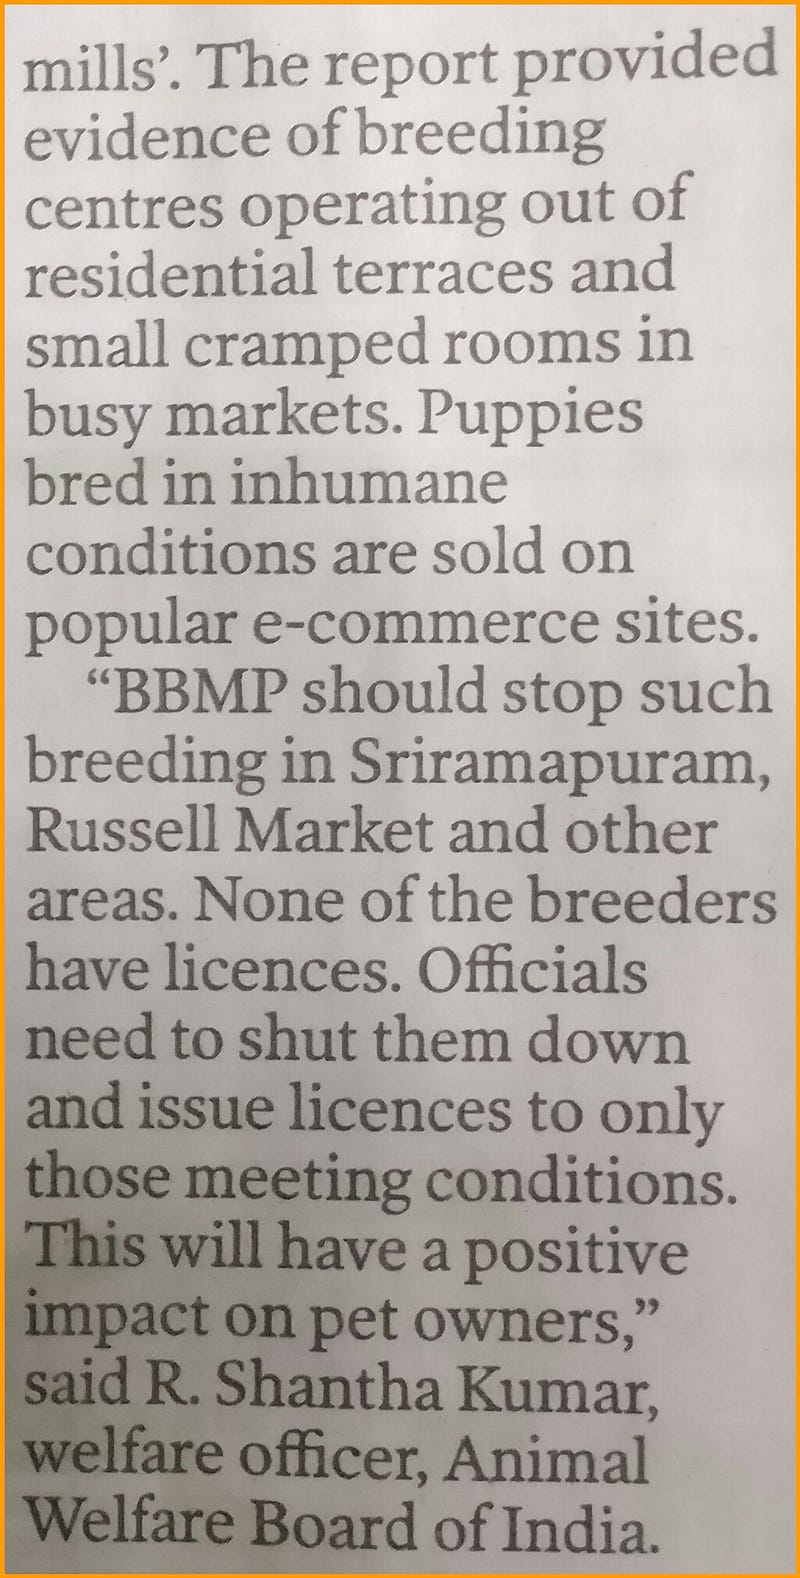
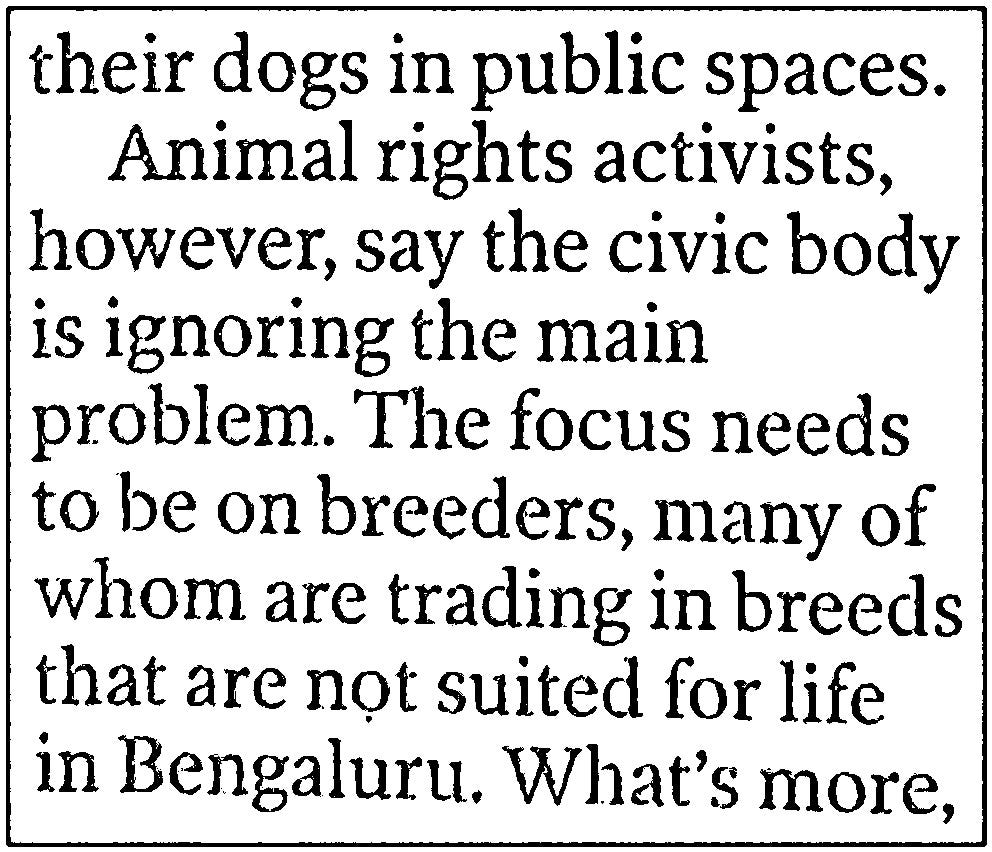
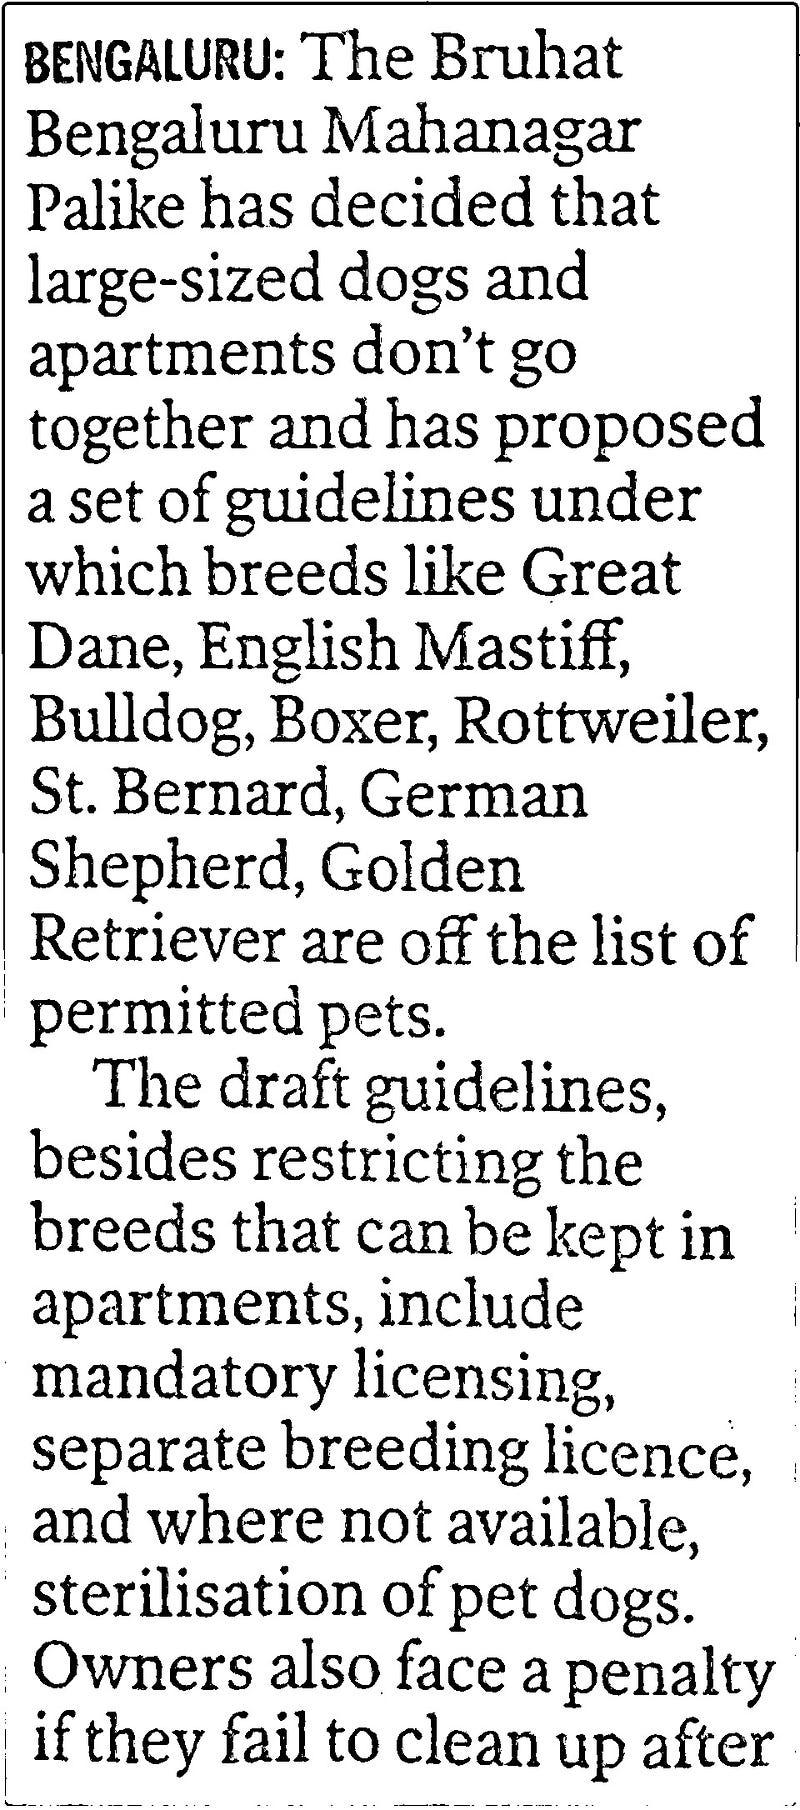
Applying all this logic to get the keypoints from the text content extracted above gives:
Introduction Understanding decorators in Python is one of the most trickiest thing and creating one is one of the most craftiest th...
Saturday, March 26, 2016
Introduction
Understanding decorators in Python is one of the most trickiest thing and creating one is one of the most craftiest thing in Python. It requires understanding of few functional programming concepts, how functions work, namespace/scope/lifetime of data items and most importantly closure.
What is a decorator ?
A decorator is a design pattern which allows us to modify the functionality of a method or class without changing the implementation of the existing function to be decorated.
For beginners, hold on questions like:
How is it different from calling a separately created function containing added functionality?
What's so cool about decorators?
Is Bruce Wayne the Batman?
I hope these questions will get answered by the end of this post.
Know your functions better
Functions are like any other variables in python i.e. we can pass functions as arguments and can return functions from a function as a return value. Why is it so ? Because functions are also objects in Python like everything else.
Consider this:
Now we know that functions are also objects.
Namespace, scope and lifetime
A namespace, in simple terms, is the collection of names which we define in our code which are essentially the collection of objects (named). Therefore, there can be a number of namespaces existing independently. This independence is in terms of their scope and lifetime.
Functions create their own namespace and it is accessible directly only in the function definition. This is the scope of the namespace in a function. Similar is the case with any other code segment.
Variables in their local namespace in a function are destroyed when the function ends. This is the lifetime of the variables.
Rule: While accessing variables, Python looks for the variables in the local scope first and then in the enclosing scope.
Nested functions
Python allows nesting of functions. Example:
Here, the namespace scope rule is still valid. At line 4, the inner function looks for the variable in its local scope and then to the enclosing scope which is another function which has its own namespace/scope. Hence, the scope rule works here.
Closures
Considering the above example code for nested functions again, it follows Python's scoping rules. But it is weird in terms of lifetime of the namespace. Code:
In the above code, the inner function tries to access a variable of its enclosing scope after it has returned a value. Hence, according to Python's namespace-lifetime rule, the code should not work as the inner function is trying to access namespace in the enclosing function which has ended by returning another function.
Here, the concept of function closure comes into play. A closure in Python is when an inner function (in non global scope) has the information of the namespace of the enclosing function at its definition.
What is a decorator ? (finally)
As defined earlier, a decorator is a design pattern which allows us to modify the functionality of a method without changing the implementation of the existing function to be decorated.
A decorator provides a way for function + something more. It accepts a function as an argument and returns another function after decorating (modifying).
Example:
Here, the p_decorate decorates the function get_text to enclose it in a <p> tag. The decorator function (p_decorate) accepts a function as an argument which can be any function (think deeper and you will understand how/why it is different from using a normal function call)and the inner function (func_wrap) calls the function in the parameter and modify the value returned.
Python gives us a cool syntactic sugar for using decorators which ensures better understanding and cleaner code. We can create a decorator as discussed above and plug it to any function using @decorator_name. For example for all the function to be decorated by the decorator p_decorate, we just need to put @p_decorate above the appropriate function definition.
Example:
I would love to hear your feedback, any corrections or if you want more elaborate details please let me know.
Batman: A hero can be anyone. Even a man doing something as simple and reassuring as putting a coat around a young boy's shoulders to let him know that the world hadn't ended.
(Coldplay origami star; see bottom for link to tutorial) There's an amazing Android app called CamScanner which lets you us...
Saturday, January 09, 2016
(Coldplay origami star; see bottom for link to tutorial)
There's an amazing Android app called CamScannerwhich lets you use the camera of your mobile phone and scan any text document. I've been using the app since few months and the best thing about the app I like is its perspective transformation i.e. to transform an angled image (non-top-down clicked image) and display it as if it was captured top-down at 90 degrees. What is worth praising is that the transformed image is quite clear and sharp. Another good feature I like is its smart cropping. It automatically detects the document boundary and even allows the user to crop it as per the requirement.
Being a Computer Vision enthusiast, I thought of building a pretty unsophisticated and rustic implementation of a document scanner using OpenCV and Python.
Apply perspective transformation on extracted object
Thresholding text content (If required)
Capture Image
I could've used my webcam but it cannot capture images which are readable enough. Therefore, for illustration I've captured a test image of a document from my phone's camera.
Original Image (Document to scan)
The original image is resized and scaled down as OpenCV's methods may not perform accurately for very large dimensions. (Above image is the scaled down/resized version)
The original image is converted to grayscale and then blurred using Gaussian Blur technique.
Original Image (Grayscaled)
Original Image(Gaussian Blurred)
(notice that this is image is smoother than above)
By blurring, we create smooth transition from one color to another and to reduce noise and edge content. But, we have to be careful with the extent of blur as we DO want our script to detect edges of the document.
Edge Detection
Edge detection technique is used to find boundaries of objects in an image by analyzing varying brightness in the image. Here, it is being used for segmenting image. More precisely, we'll use Canny Edge Detection technique.
Edged Image (Canny Edge Detection)
Contour Detection
After performing Edge Detection, we'll try to extract the document to be scanned from the image. Therefore, we'll find the document boundary by drawing contours around the edges detected and choose the appropriate contour.
Drawing all contours
Looks beautiful right :) ?
Here, we can see that there is a boundary traced along the edges of our document but there are some other irrelevant contours too. Also, it is clearly visible that the area within the contour of the document is larger than the area enclosed by any other contours and we can use this fact to get the right boundary to extract our document.
Let's get rid of the extraneous contours by selecting the contour of largest area. To get a boundary with only 4 vertices, I have approximated the contour; which means, to approximate a contour to another shape which has a less number of vertices.
Boundary around the document (Contour Approximated)
Perspective Transform
The original image is captured at an angle and is not perfectly top-down image which was deliberately done. Even if we crop the image around the contour, the cropped content would not look like a scanned document. A scanned document is always as if it was captured/scanned exactly from vertically above.
Therefore, we'll apply perspective transformation. In perspective transformation, one arbitrary quadrilateral is mapped to another and hence, a skewed image (quadrilateral) can be transformed into a square/rectangle by defining a new mapping for each pixel.
This looks better. If someone wants to give it a B/W look and feel, one can always try thresholding!
If we threshold the above image using Adaptive Gaussian Thresholding method we can get a B/W document.
Adaptive Gaussian Thresholding
As mentioned earlier, the original image was scaled down before processing. Therefore, the above two images are not as sharp and clear as they could've been which is one of the issue I am looking forward to fix. I need to find out a better way to get an optimally scaled image.
TODO (I would love to hear your suggestions):
Resolve issue regarding the use of scaled down image
Maybe use an image to pdf converter to convert the scanned image to pdf
Refactor the code (like an API ?) before it wreaks havoc
Test with more images, angles, colors, sizes, background and optimize .. optimize .. optimize